
Navigation
Overview
The primary and secondary navigations are the main user pathways for your design system documentation. This guide provides instructions on how to effectively add and manage both navigation types, detailing the various features available to enhance user experience and accessibility.
Primary Navigation
The primary navigation in the workspace allows you to organize and manage your content efficiently. Here’s how you can use and customize the primary nav:

Adding a New Primary Nav Section
To add a new nav item to the primary nav:
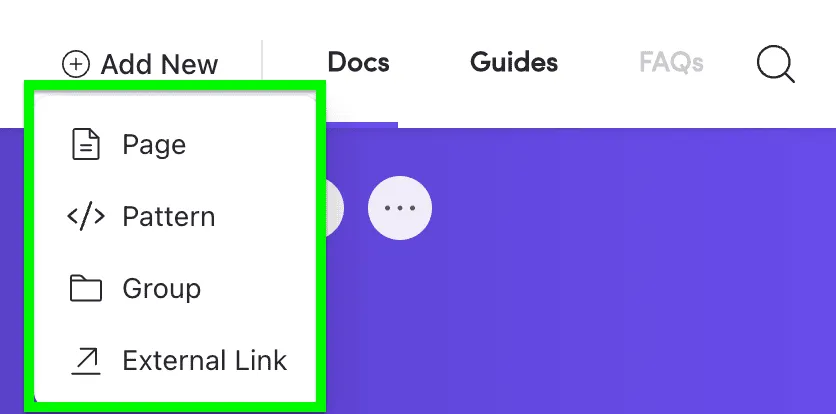
- Click on the “Add New” button.
- A modal will appear where you can choose to create a Page, Pattern, or Group, or External Link.
- Select the appropriate option, fill in the necessary details, and click “Create” to add the new section to the primary nav.
Primary Nav Action Menu
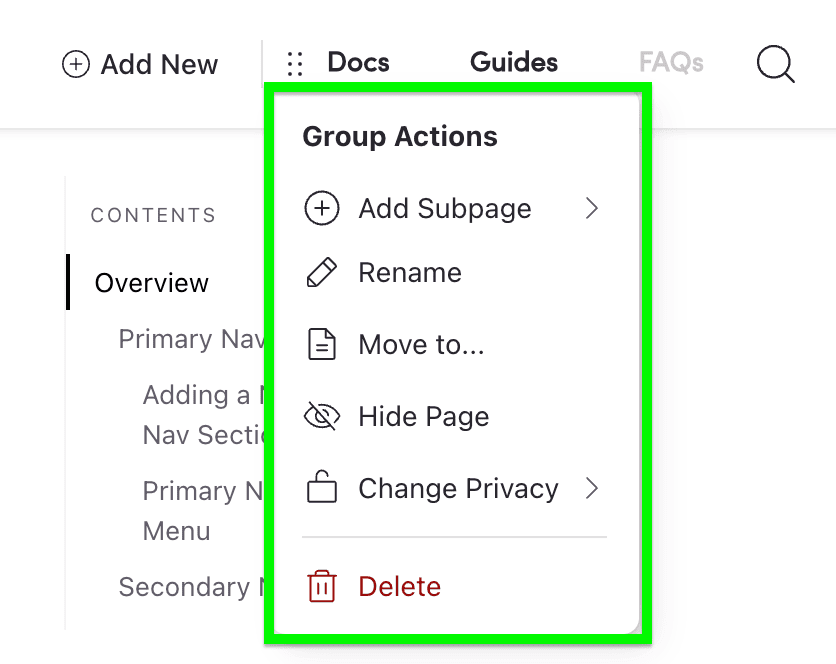
The primary nav now includes an action menu that provides convenient options for managing your workspace navigation. To access the action menu, hover over a primary nav item. Click on the action menu button to open the menu.
The action menu includes the following options:
- Add Subpage: Adds a Page, Pattern, or Group, or External Link to the Secondary Menu.
- Rename: Allows you to change the name of the primary nav item.
- Move to: Moves the primary nav item to a different position within the primary nav.
- Hide Page: Hides the primary nav item from the primary navigation display.
- Change Privacy: Adjusts the privacy settings for the primary nav item.
- Delete: Removes the primary nav item from the primary navigation.
Re-ording Primary Navigation Items
To reorder the primary nav items, simply click and drag the action menu icon on the left side of each primary nav item. Dragging the icon left or right will change the position of the primary nav item accordingly.
Secondary Navigation
Items added to the secondary navigation are directly correlated to the primary navigation items.
- For example, if “Docs” is a primary navigation item, then “Adding Documentation” would be a secondary navigation item under “Docs,” serving as a subpage.
- This hierarchical structure ensures that secondary navigation items are contextually linked to their corresponding primary navigation items, providing a clear and organized navigation experience for users.
Adding a new Secondary item
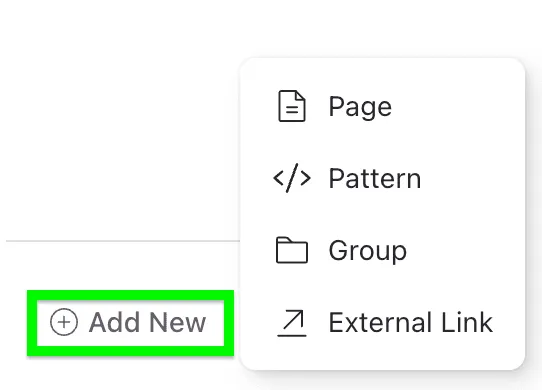
- From within the left sidebar, click the “Add New” button.
- A modal will appear where you can choose to create a Page, Pattern, Group, or External Link.
- Select the appropriate option, fill in the necessary details, and click “Add Page/Pattern/Group” to add the new section to the primary nav.
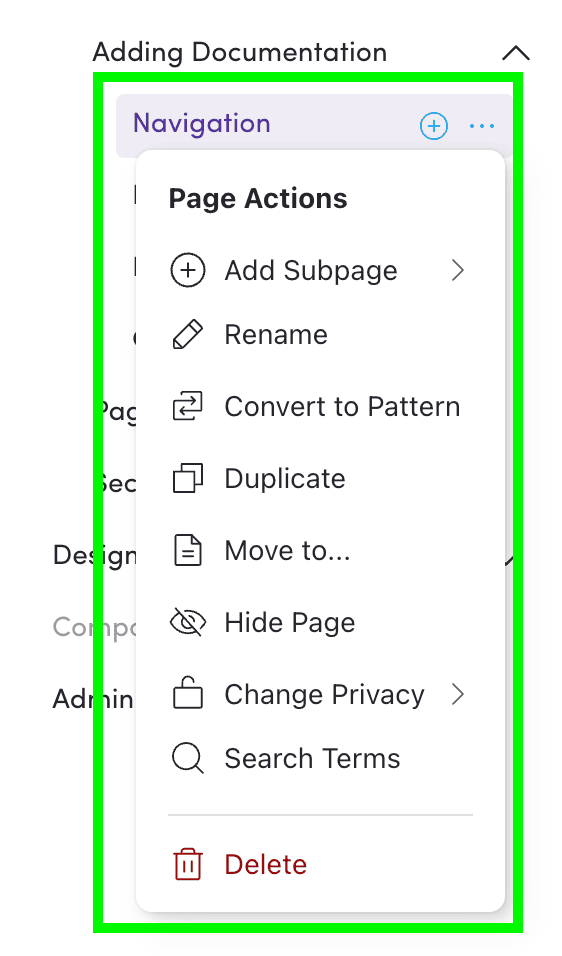
Secondary Nav Action Menu
The secondary nav includes an action menu that provides convenient options for managing your workspace navigation. To access the action menu, hover over a secondary nav item. Click on the action menu button to open the menu.
The action menu includes the following options:
- Add Subpage: Adds a Page, Pattern, or Group, or External Link to the Secondary Menu.
- Rename: Allows you to change the name of the secondary nav item.
- Convert to Pattern: Converts the secondary nav item to a reusable pattern for easy sharing and consistency.
- Duplicate: Creates a copy of the secondary nav item.
- Move to: Moves the secondary nav item to a different position within the primary nav.
- Hide Page: Hides the secondary nav item from the secondary navigation display.
- Change Privacy: Adjusts the privacy settings for the secondary nav item.
- Delete: Removes the primary nav item from the secondary navigation.
Re-ording Secondary Navigation Items
To reorder the secondary nav items, simply click and drag the action menu icon on the left side of each nav item. Dragging the icon up or down will change the position of the secondary nav item accordingly.
Adding a new Subpage
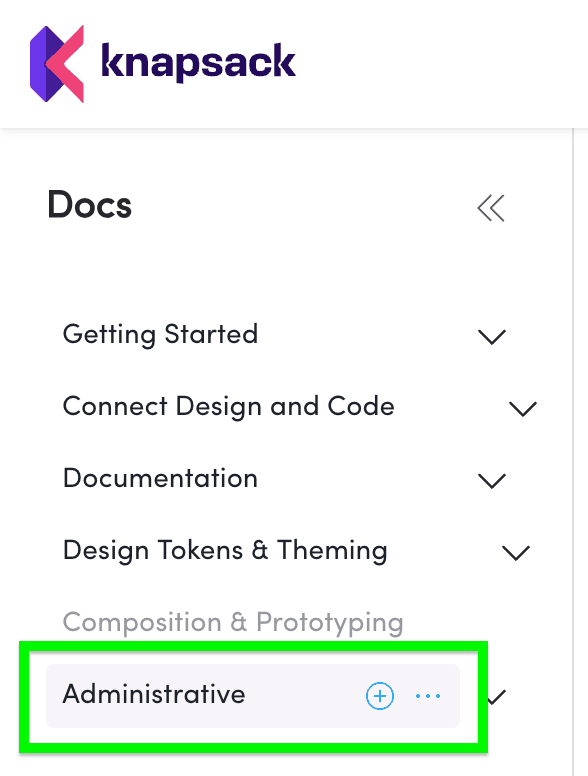
- Hover over the desired link in your sidebar menu that you wish to expand.
- Click the circle icon with a plus sign (+).
- A dropdown menu will appear, allowing you to add a Page, Pattern, Group, or External Link under the selected link.
- Choose the entity type that best suits your needs.
- Select the appropriate option, fill in the necessary details, and click “Add Page/Pattern/Group”.