

Prototyping
Please note that Prototyping is not available on all plans. For more details or to explore upgrade options, contact your sales representative.
Requirements
- Knapsack workspace must be on at least version 4.53.0. If you’re unsure of your current version, update your workspace to ensure compatibility.
- A supported renderer installed
Initial Setup
Prototyping can only be enabled by developers while working in a local environment.
To get started, navigate to the Prototyping settings page, enable prototyping for each renderer you want to use, and be sure to save and publish your changes through Git to enable prototyping for all users.
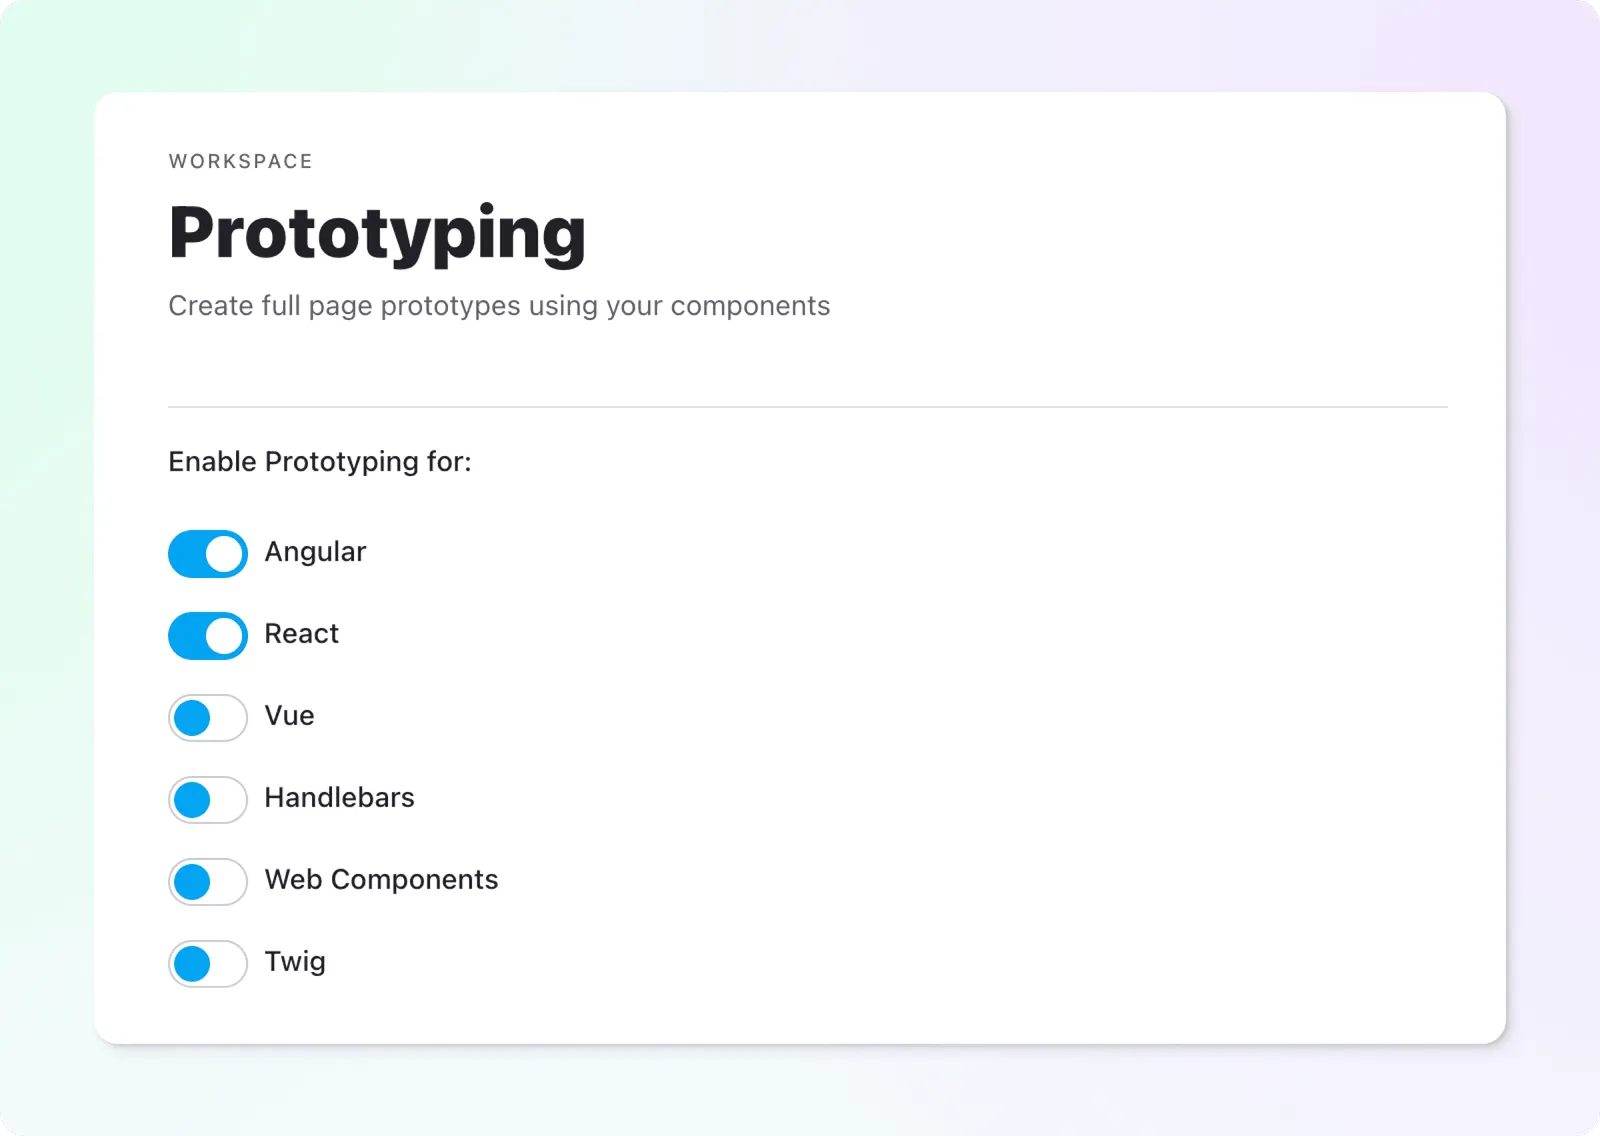
Creating Prototypes
Go to the Prototype section in the main app navigation bar. If you’ve enabled multiple renderers, choose the one you want to use, then click “New Prototype.” This will add a new item to the page, which you can click to open and edit.
Once you’re in the prototype, managing it is the same as with other pattern demos, where you use Slots and Sub Components.
Available Customizations
The Prototype interface in Knapsack allows you to adjust how content is arranged, aligned, and styled. Each prototype has its own layout configuration, giving you full control over spacing, padding, alignment, and theme variables to ensure prototypes match your intended design.
How to customize the layout
To customize the layout you are currently editing click the gear icon within the prototype content panel.
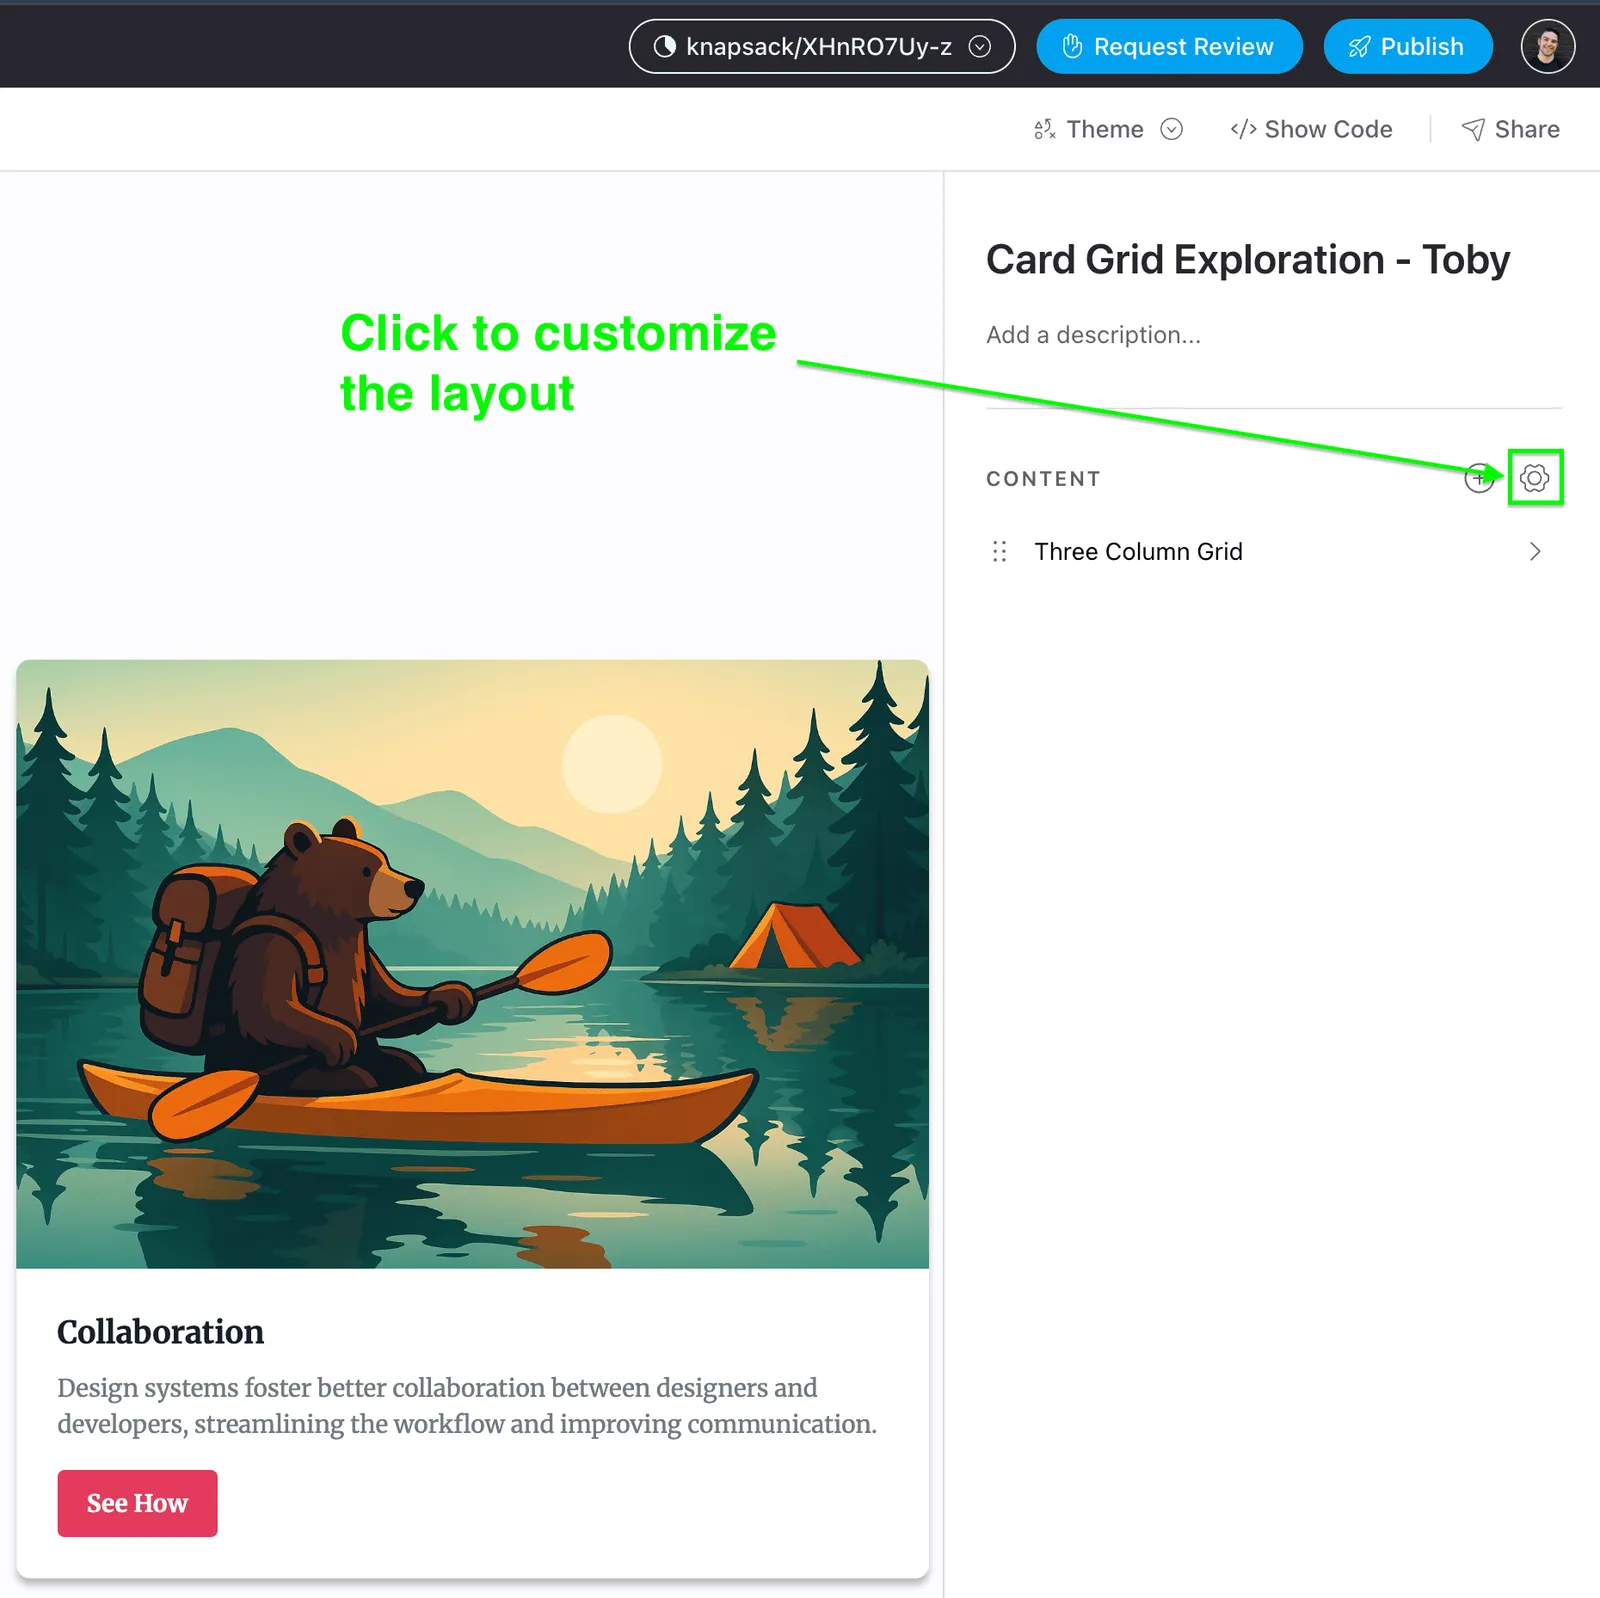
After making changes to any layout customizations:
- Click the top “Close” button to exit the configuration panel.
- Then click the blue “Save Changes” button to confirm and persist your updates.