
Managing Blocks
Discover how to efficiently manage and organize your content blocks. This section covers techniques for editing, rearranging, and removing blocks to ensure your documentation remains up-to-date and well-structured, providing a seamless user experience.
Individual block types may have additional content options under a settings menu that appears in the top right of block while editing. See docs for a specific type of block to learn what other options are available.
Accessing the block menu
The block menu contains various actions to configure the content block. You can copy a link to the block, move the block up or down, move the block to a different page, duplicate the block or delete it altogether.
While in edit mode, hover over a block to expose the block menu trigger to the left.

Adjusting block size
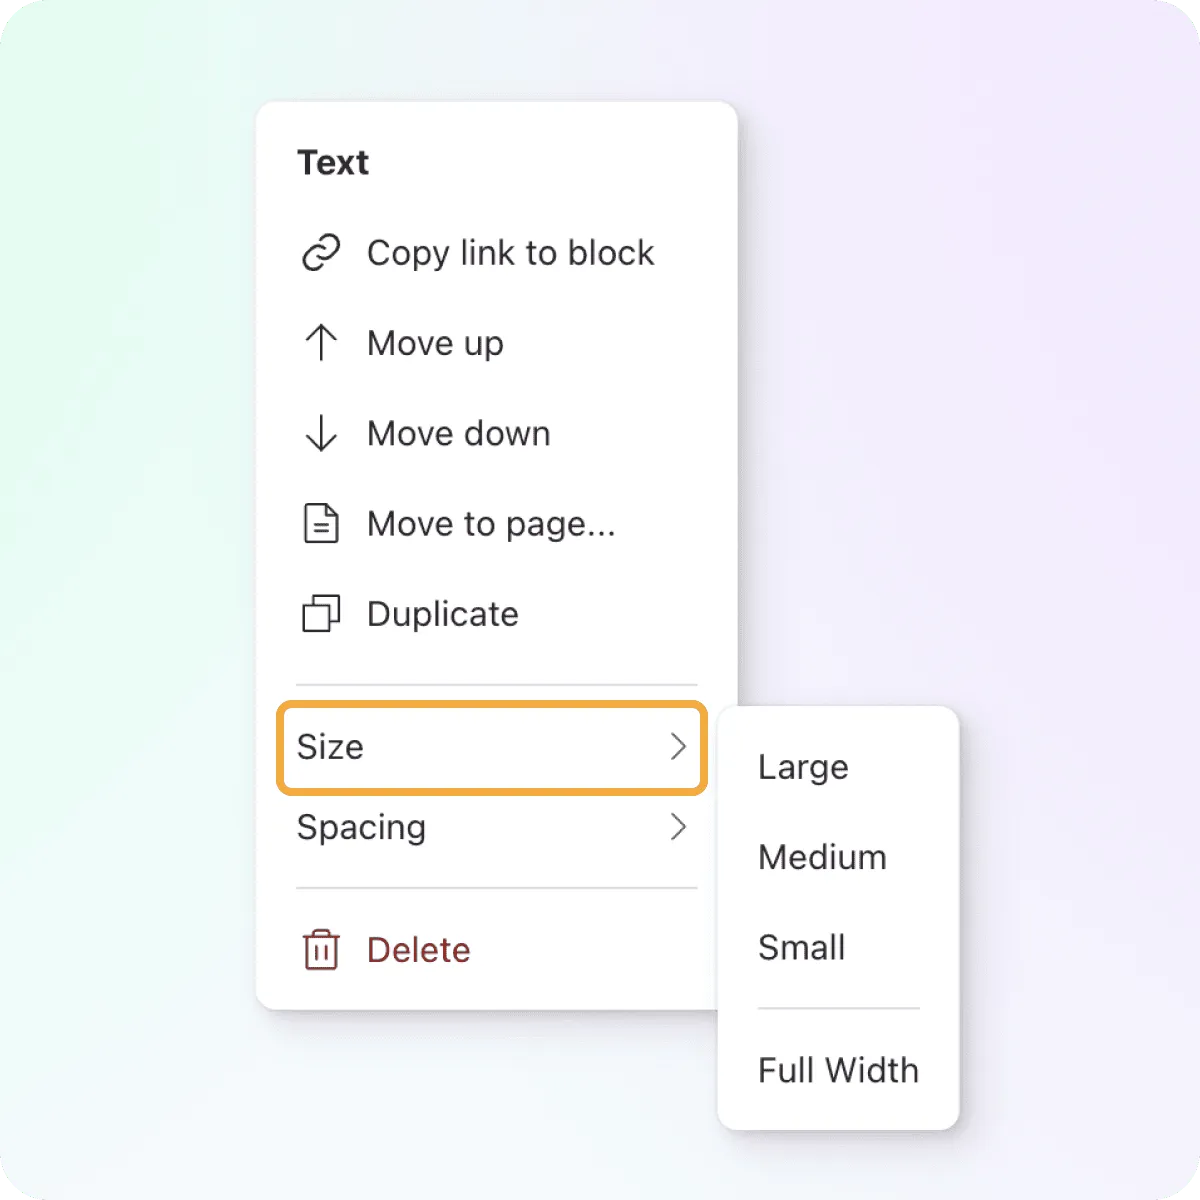
Block sizes offer you the flexibility to design the layout that best suits your documentation needs. Each block type can be easily customized in terms of size.
Within the Block Menu, you’ll discover a range of Size options:
- Small: 1/3 width
- Medium: 1/2 width
- Large: 2/3 width
- Full Width
By default, blocks occupy the full width of the page. When adding a block before or after one with a specified size, the new block automatically adopts that size. This allows the swift creation of a well-organized grid of content.
Adjusting block spacing
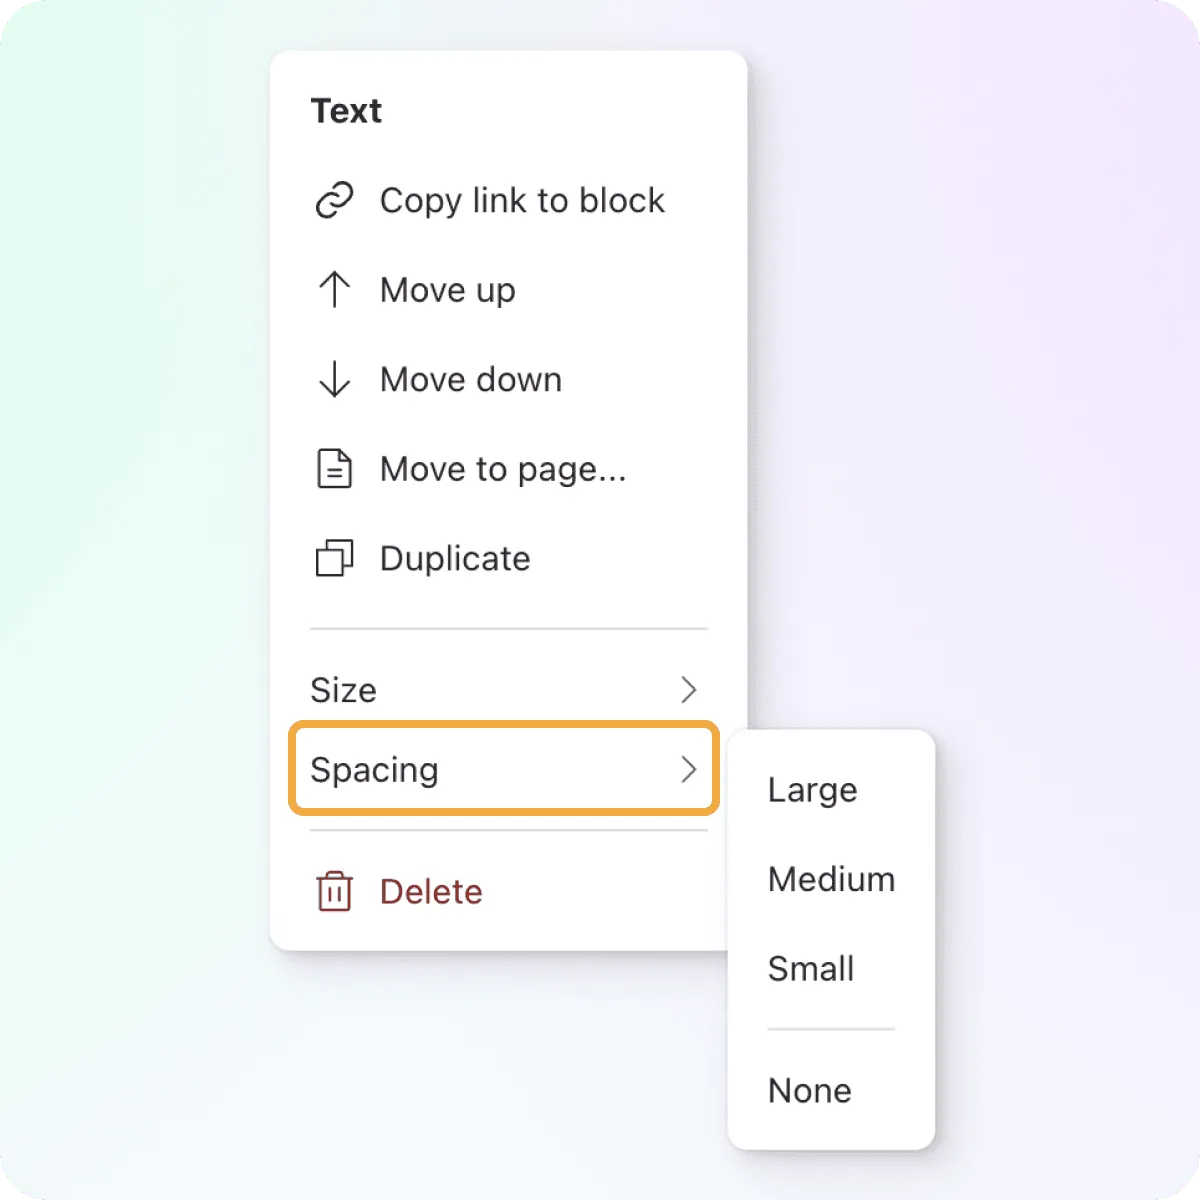
Block spacings allow you to control the amount of space after a block. This is helpful when you want to achieve additional white space between sections of your documentation.
Within the Block Menu, you’ll discover a range of Spacing options:
- Small: 32px
- Medium: 64px
- Large: 128px
- None
By default, blocks have no additional spacing beyond the standard 24px gap of the block collection.
Deleting a block
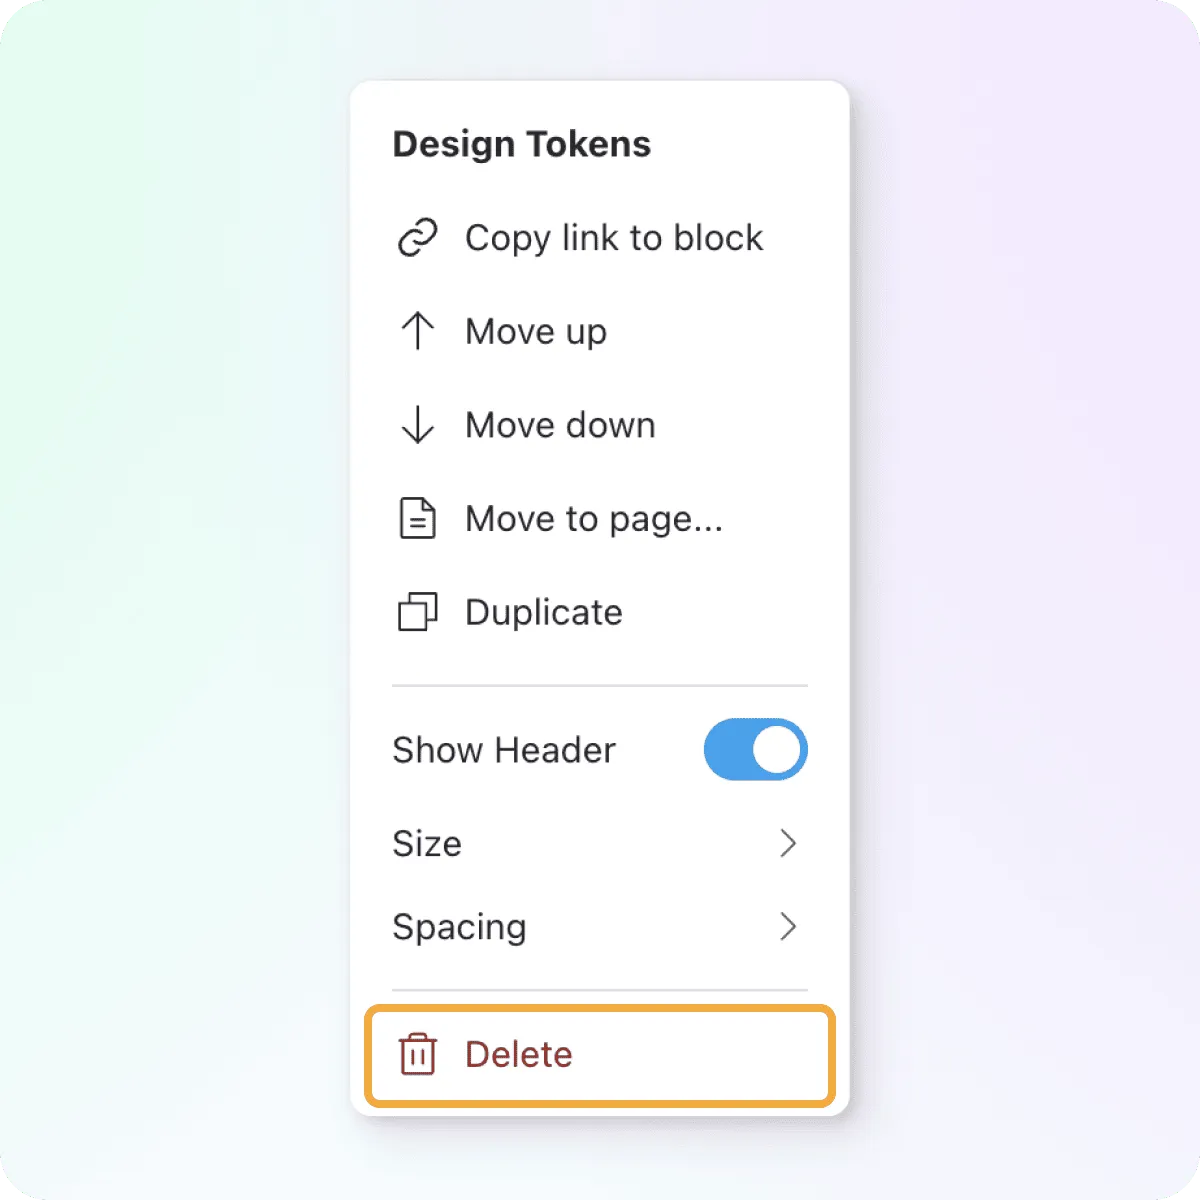
Within the Block Menu, click the Delete option.
Sometimes a block just has to go.
Duplicating a block
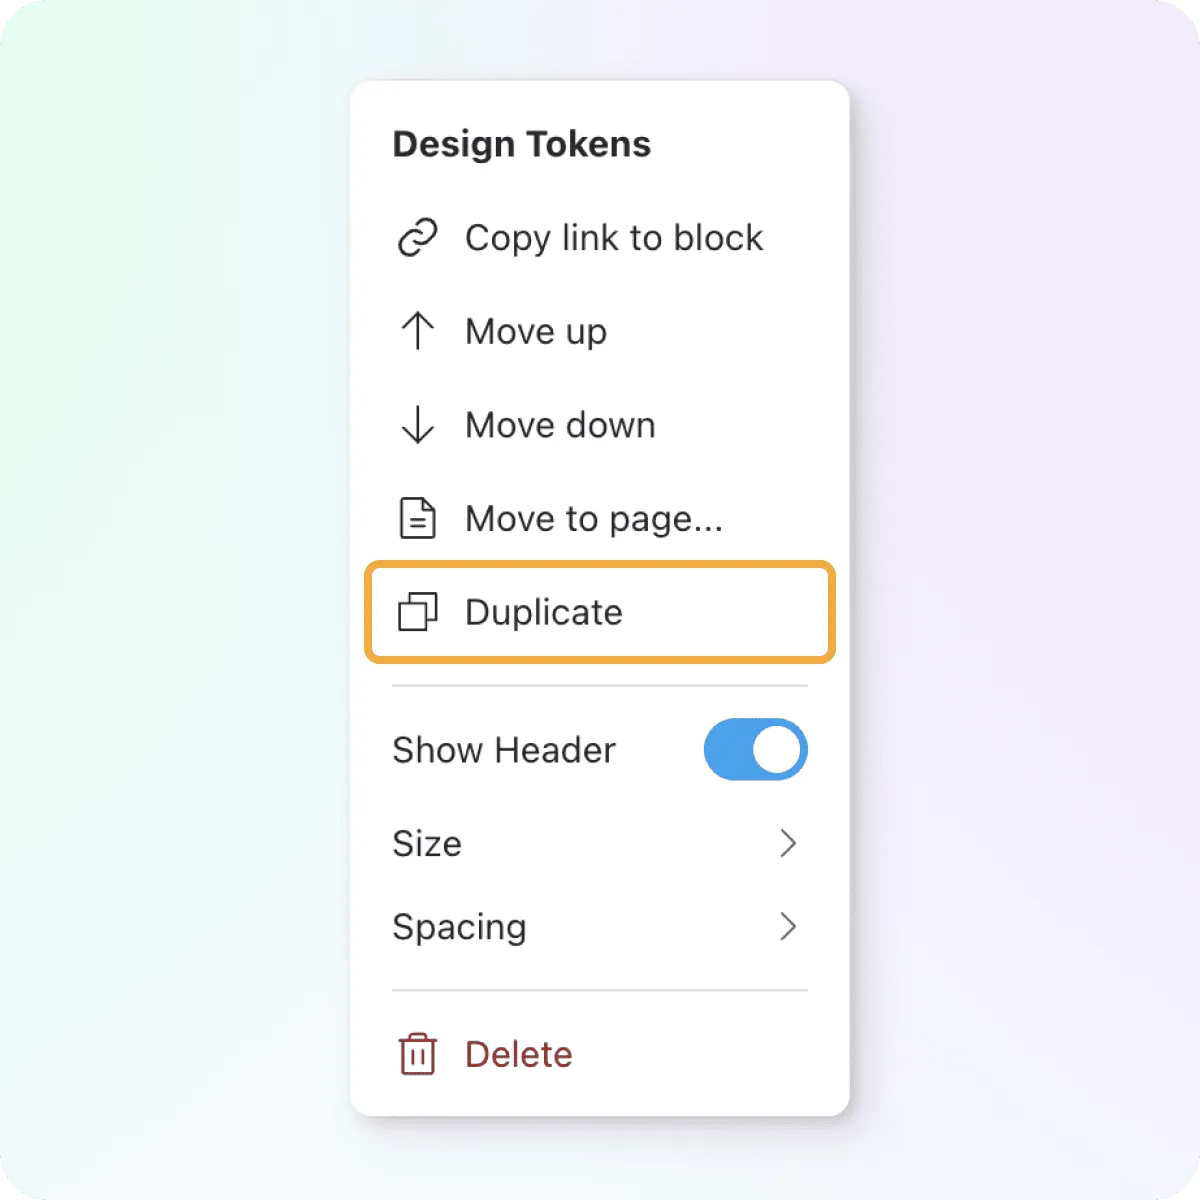
Within the Block Menu, click the Duplicate option to create a copy of the block right after the current one.
This comes in handy when you’re dealing with more complicated blocks. You can just make a copy and tweak a few settings without starting from scratch every time.
Enabling the block header
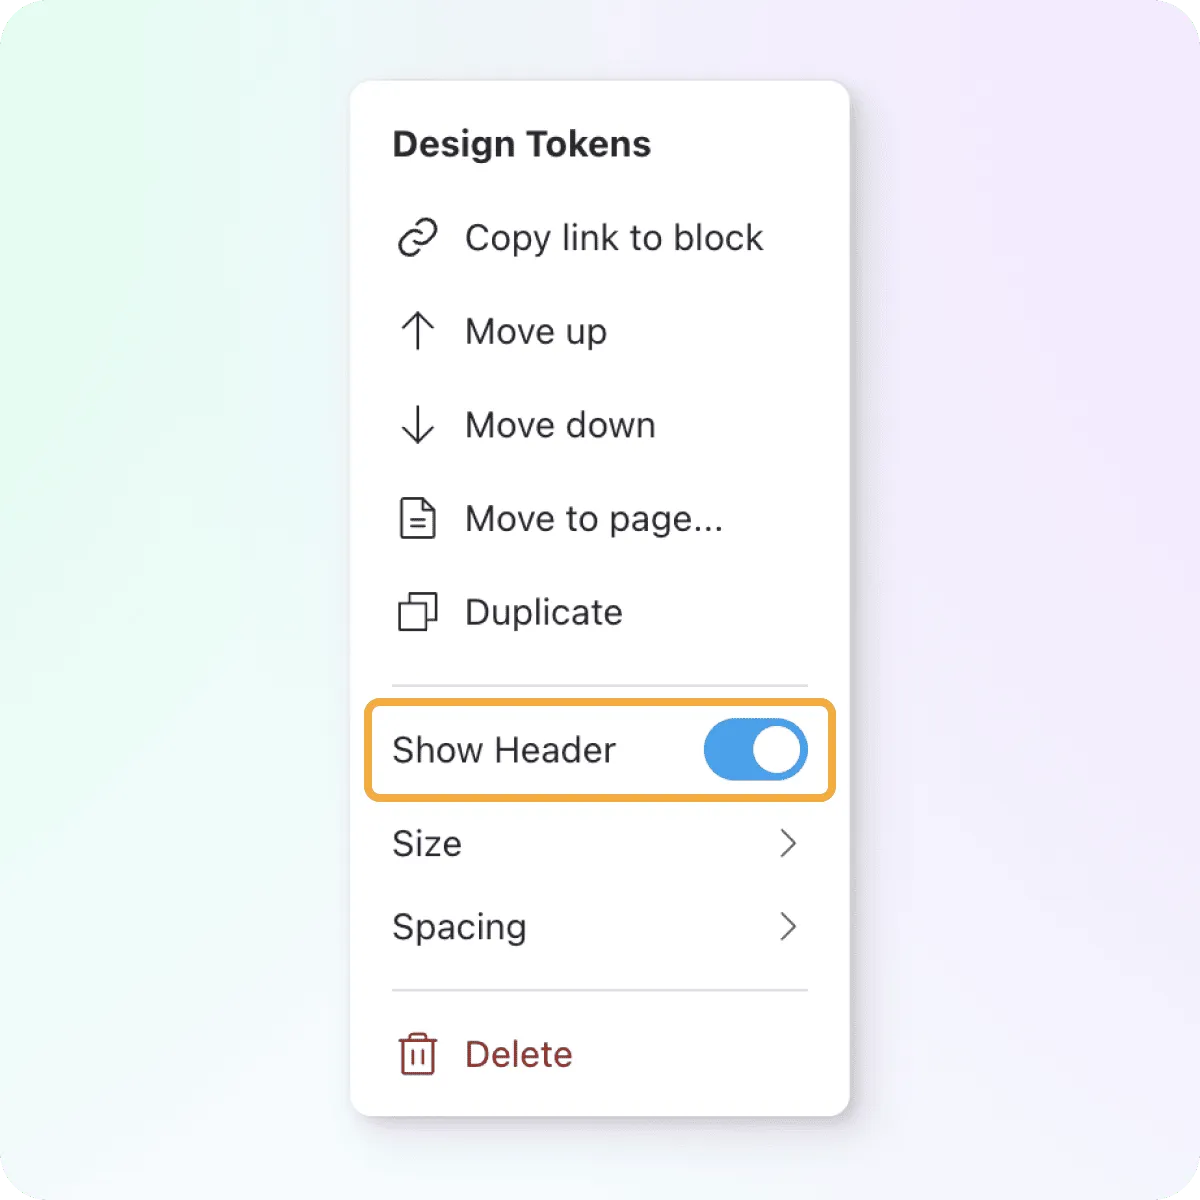
Most block types allow the addition of a header which contains a title and description. The block header is contained within the block so it will flow with it’s content as a page resizes allowing cleaner multi-column layouts.
Divider, Markdown and Text blocks do not allow headers
Within the Block Menu, toggle the Show Header option to expose the header. Once exposed you’ll be able to edit the title and description.
By default, new blocks have Show Header toggled off. You can choose to change this setting in the Content Block Settings page so that new blocks have the header on by default.
Moving blocks to another page
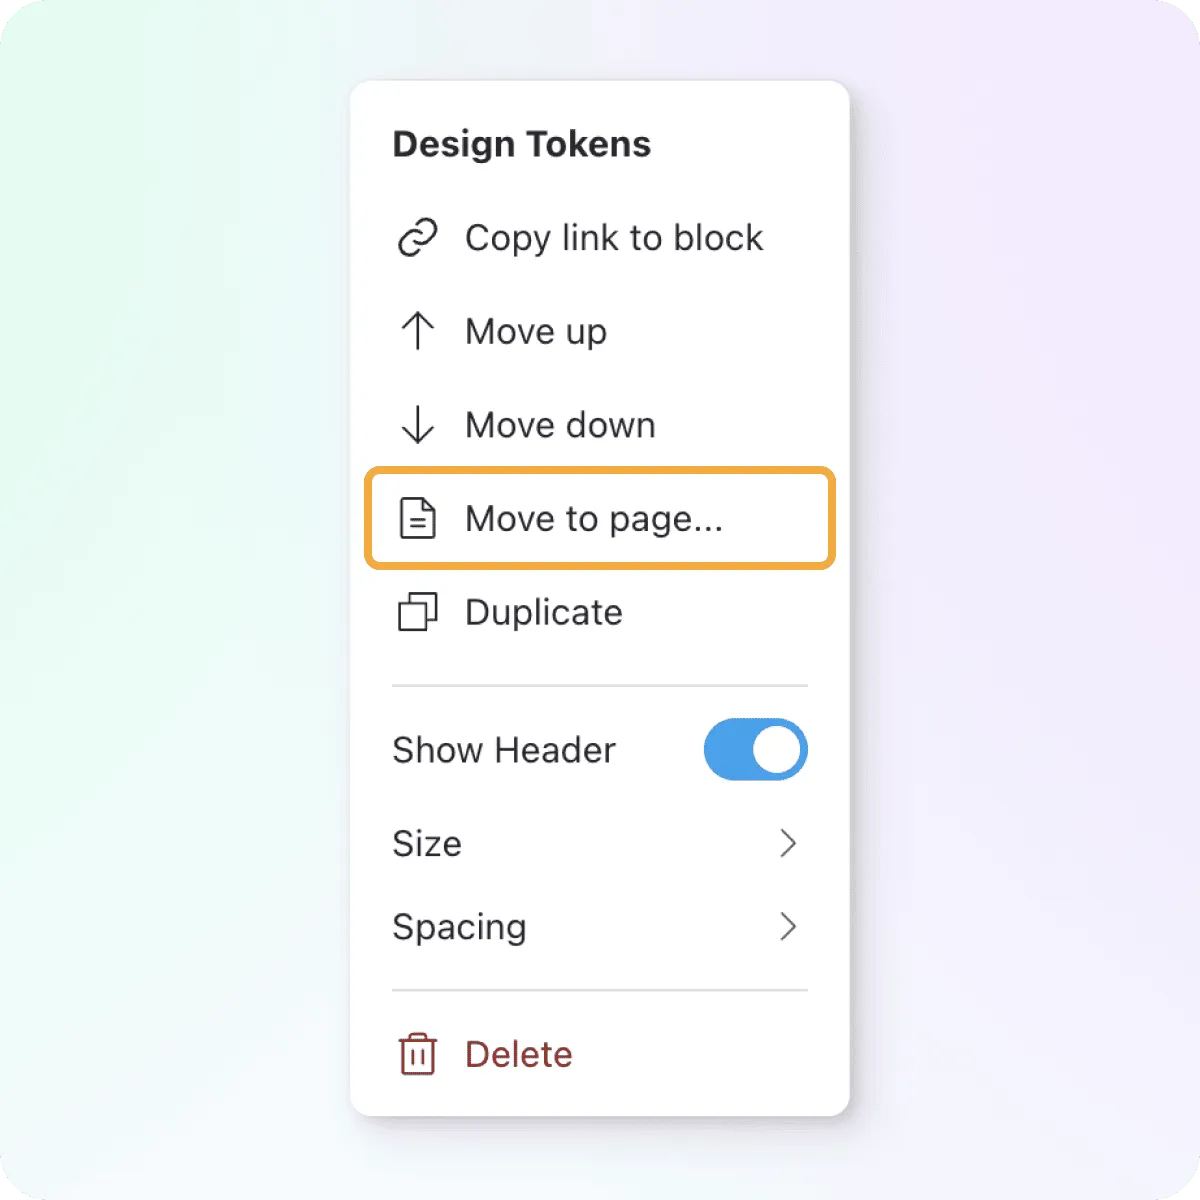
Within the Block Menu, click the Move to page option to open the move to page modal. Find the page you want to move the block to and select it.
Your block will now be at the bottom of the page you selected. You can then navigate to that page if desired and reorder the block to it’s final desired position.
Reordering blocks
Blocks within a collection can be rearranged quickly and easily to achieve your desired layout.
You can be reorder in two ways:
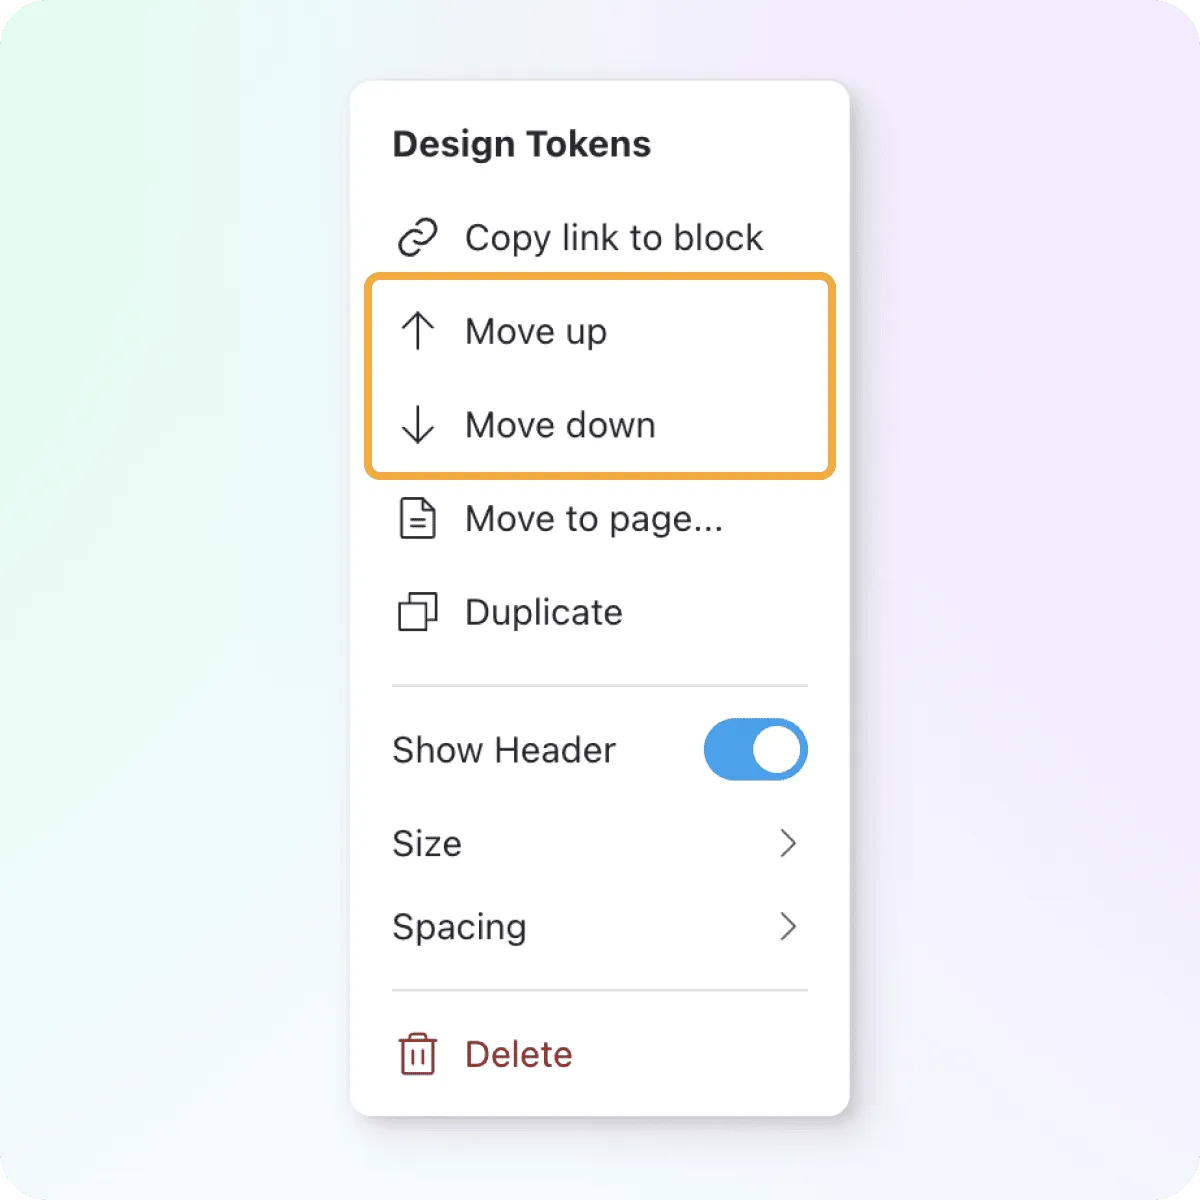
- Click and hold the block menu trigger to drag the block to it’s desired position.
- Within the Block Menu, use the Move up or Move down options for fine grained adjustments.
If a block has a set size, using the block menu options will move the block to the position before or after it’s current placement.