

Using Objects as Props

Master the technique of passing objects as props to encapsulate related data and functionality.
View as Markdown

Note: This section assumes you’ve already read and understood the section in the previous document around how to add and edit the “Prop Spec”.

Overview

This guide will illustrate how to effectively use objects within your prop configurations to streamline your component interfaces and improve code organization.

1

Step 1: Adding the "object" prop

The first step in the process involves adding the “object” prop and then editing the “Prop Spec”.

2

Step 2: Update the "properties" key

For this example, let’s edit the prop spec so that we can define our objects:

This example shows a “registration form” object prop with five properties.
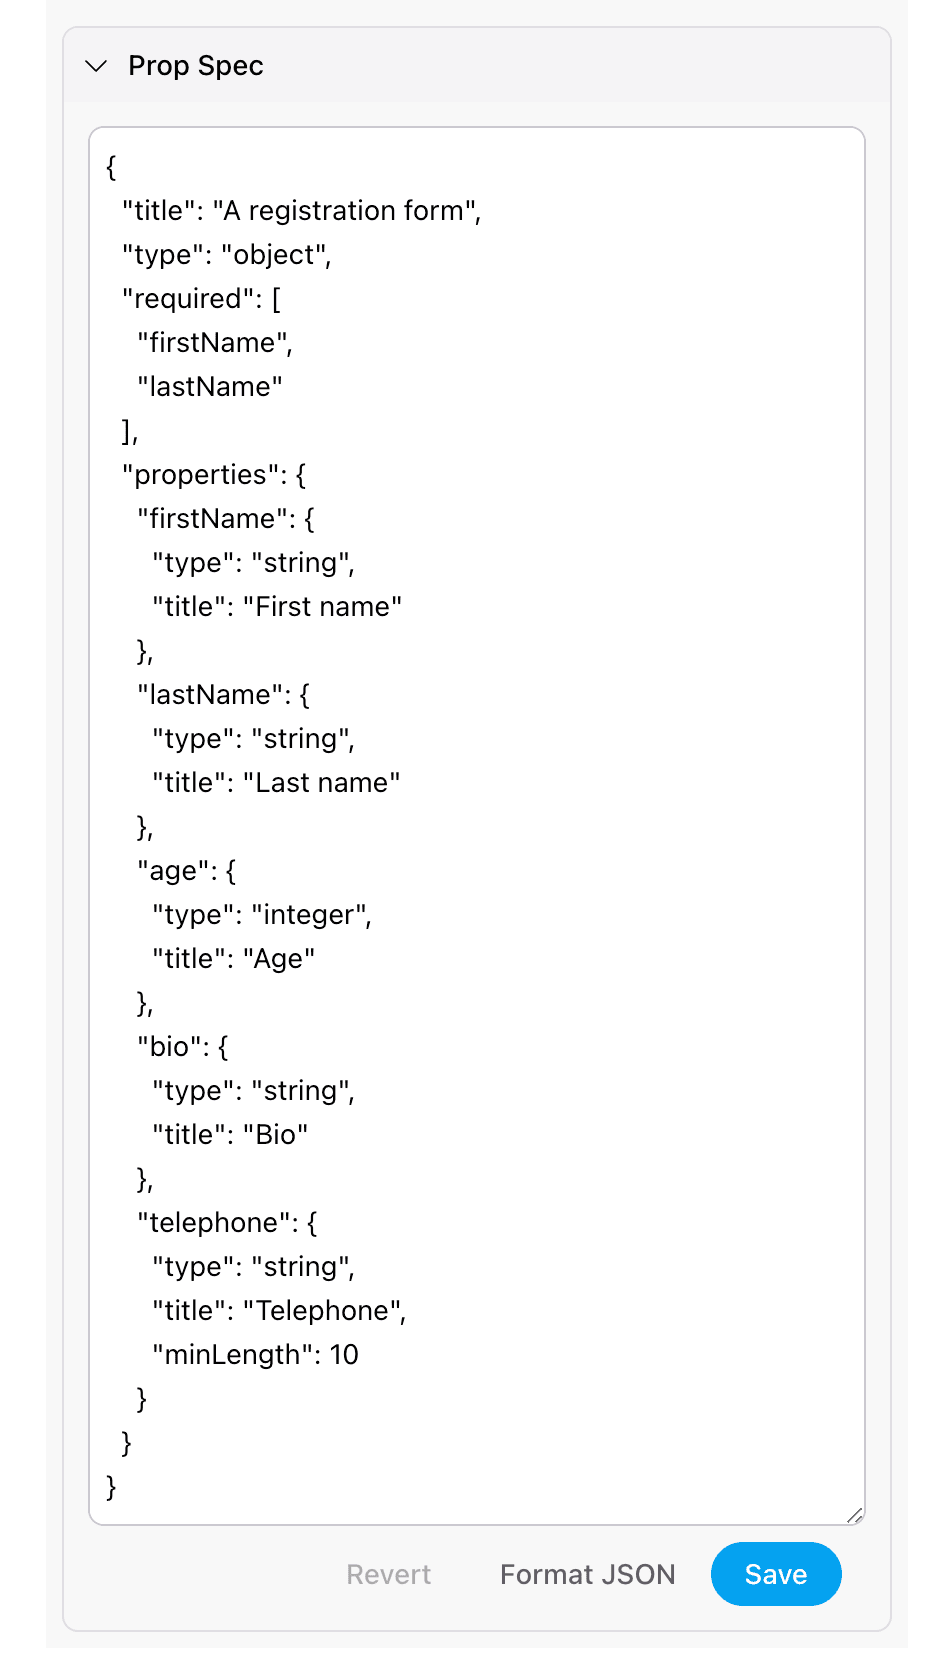
1{
2 "title": "A registration form",
3 "type": "object",
4 "required": [
5 "firstName",
6 "lastName"
7 ],
8 "properties": {
9 "firstName": {
10 "type": "string",
11 "title": "First name"
12 },
13 "lastName": {
14 "type": "string",
15 "title": "Last name"
16 },
17 "age": {
18 "type": "integer",
19 "title": "Age"
20 },
21 "bio": {
22 "type": "string",
23 "title": "Bio"
24 },
25 "telephone": {
26 "type": "string",
27 "title": "Telephone",
28 "minLength": 10
29 }
30 }
31}

Screenshot 2024-07-26 at 10.41.37 AM.png

3

Step 3: Format JSON and Save the Prop Spec

After you’ve added your JSON, click the “Format JSON” button followed by the blue “Save” button.

4

Step 4: Save changes to the component props

Lastly, click the blue “Save Changes” button at the bottom of the right fly-out.


Conclusion

Pulling it all together we can now add objects as props 🎉
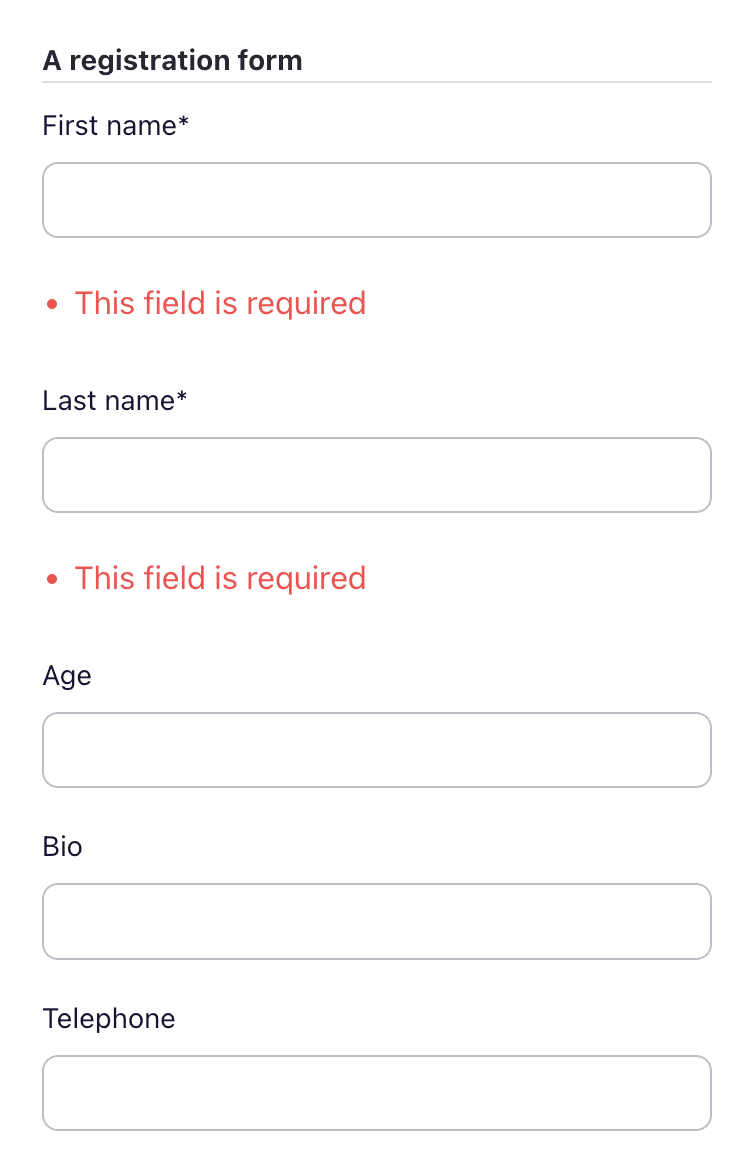
Screenshot 2024-07-26 at 10.43.25 AM.png